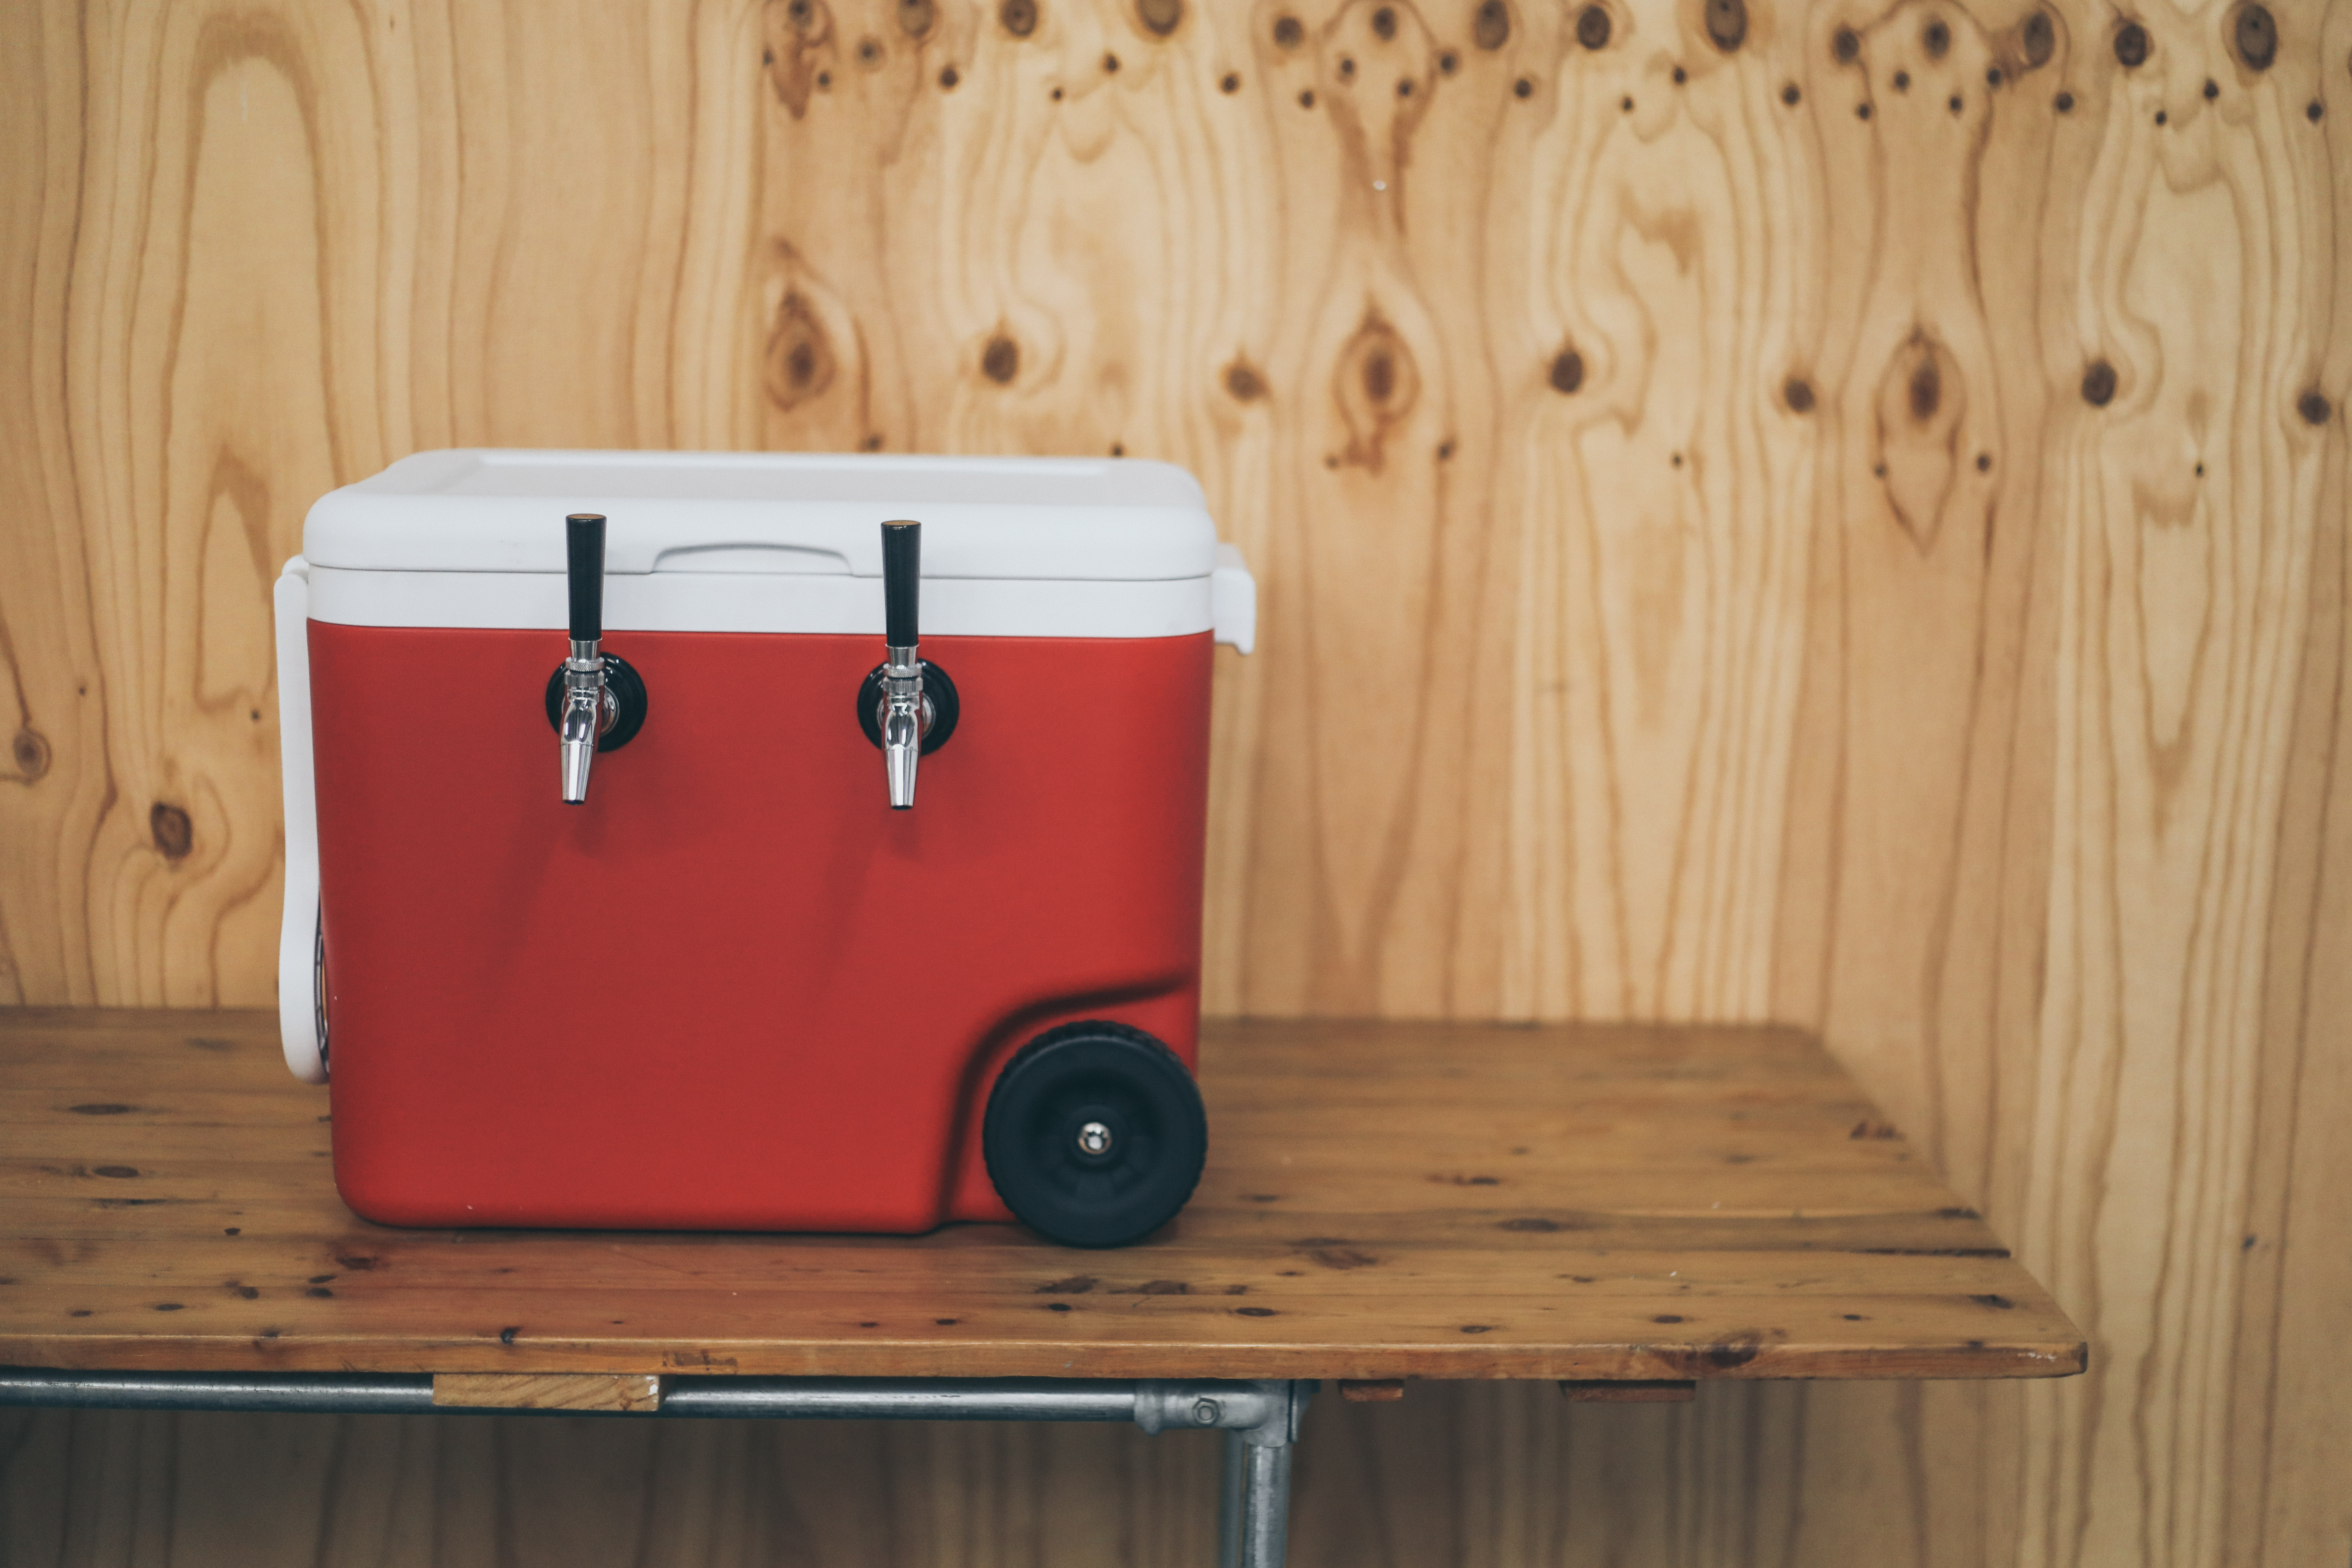
A jockey box is a great way to dispense drinks for a party. They’re cheap and so easy to build, require no power or refrigeration and are easy and compact to transport – just a bag or two of ice. We show you how to build a jockey box from scratch.
Our instructions and equipment list are for a two tap jockey box, and we’ve used all push in fittings for ease of set up, and we’ve used all stainless steel fittings where possible. If you’d rather set up more/less taps, avoid push in fittings, or use brass fittings to save some money that’s fine – but please use some common sense and initiative, and adjust your shopping list accordingly. You can also save some coin by using the same CO2 cylinder and regulator from your primary setup (if you have one), but that’s going to be more fiddly each time you use the Jockey Box.
This isn’t a complete kegging guide – with this build, we’re expecting that you already know how to properly keg and carbonate your beer.
Tools/Equipment:
- An esky of appropriate size
- A cordless/power drill
- 8-9mm Drill Bit
- Step bit or hole saw set (22mm diameter is ideal)
- Shifting spanner
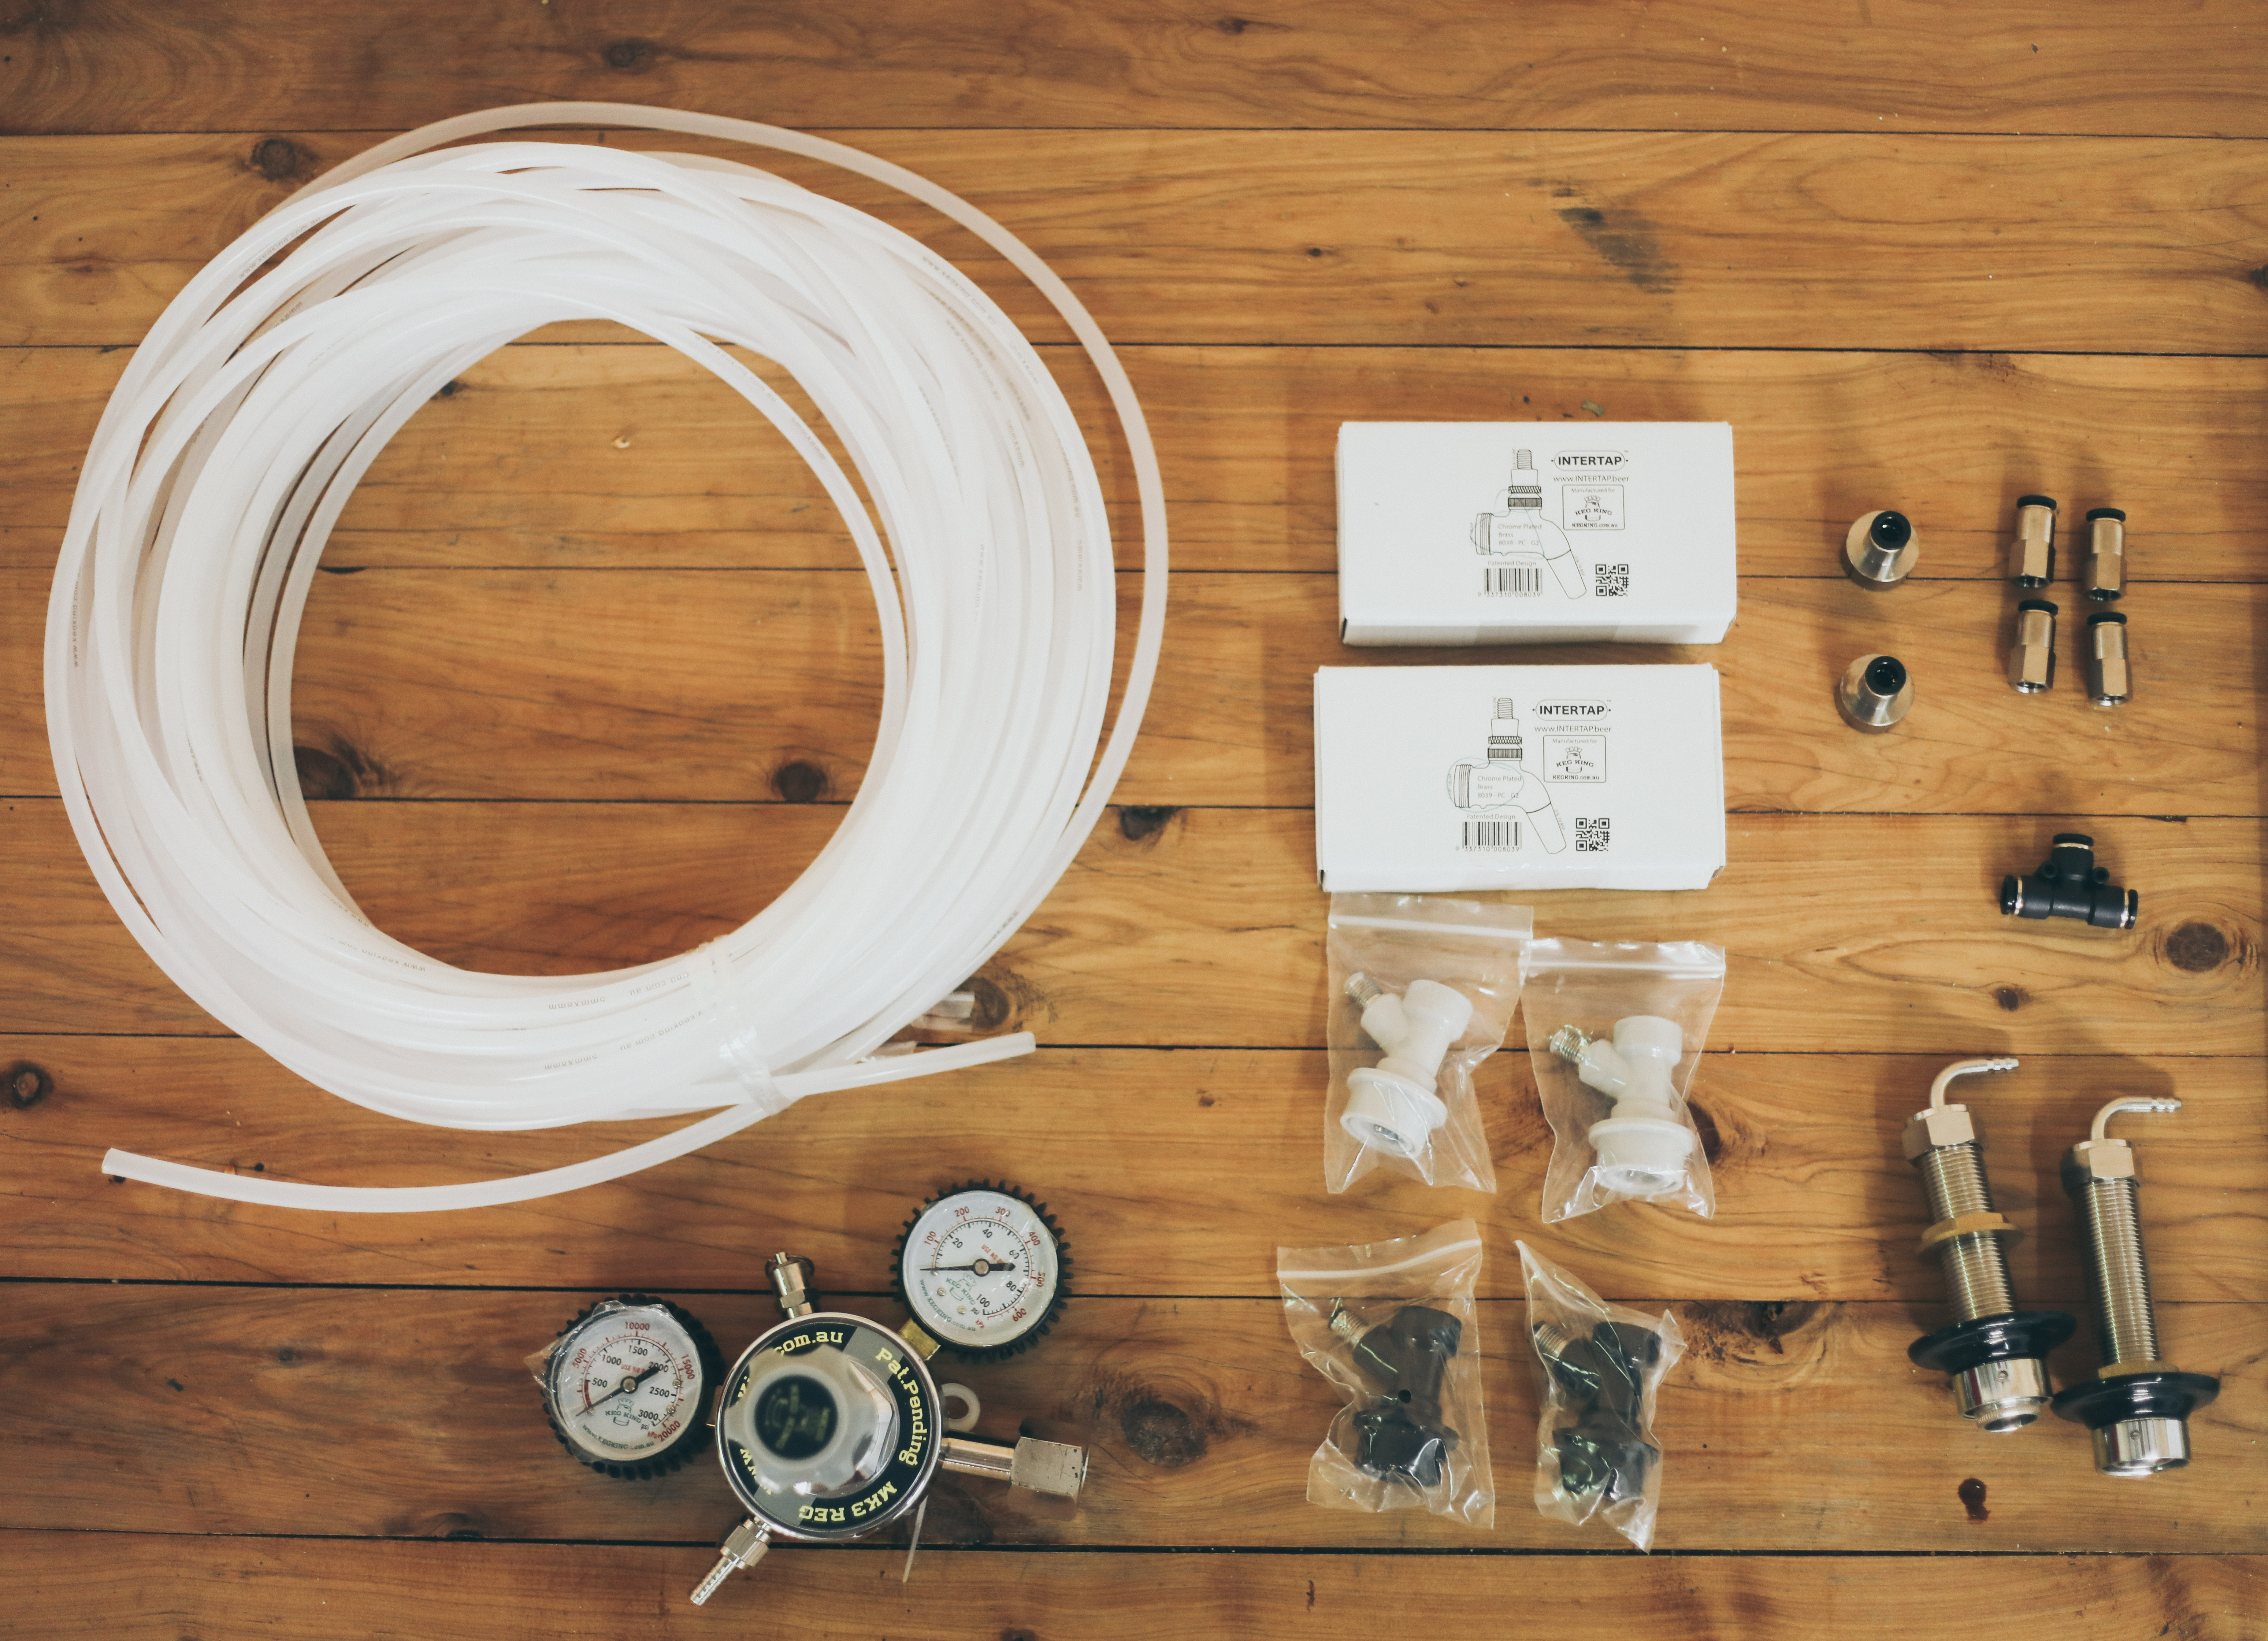
Brewing Supplies:
- 2 x long shanks
- 2 x beer taps (we recommend the stainless or chrome plated intertaps)
- 1 x CO2 regulator
- 1 x CO2 cylinder (the smaller the better for transporting – the Mykegonlegs cylinder is more lightweight and portable)
- 1 x Cast aluminium cold plate
- 2 x MFL Gas Disconnects
- 2 x MFL Liquid Disconnects
- 9 x MFL Push in fittings
- 2 x 5/8″ Push in fittings (to attach to the shanks)
- A suitable amount of 5mm beer/gas line (we used about 5 meters)
- 1 x Push in beer/gas line splitter
- Optional: Stainless drip tray
Process:
Idiot Check!
Before you start, test fit the cold plate – make sure it fits into the esky before you start drilling holes. Don’t forget that the shanks will protrude into the esky a fair way, check that you’ll be able to remove the cold plate without removing the shanks.

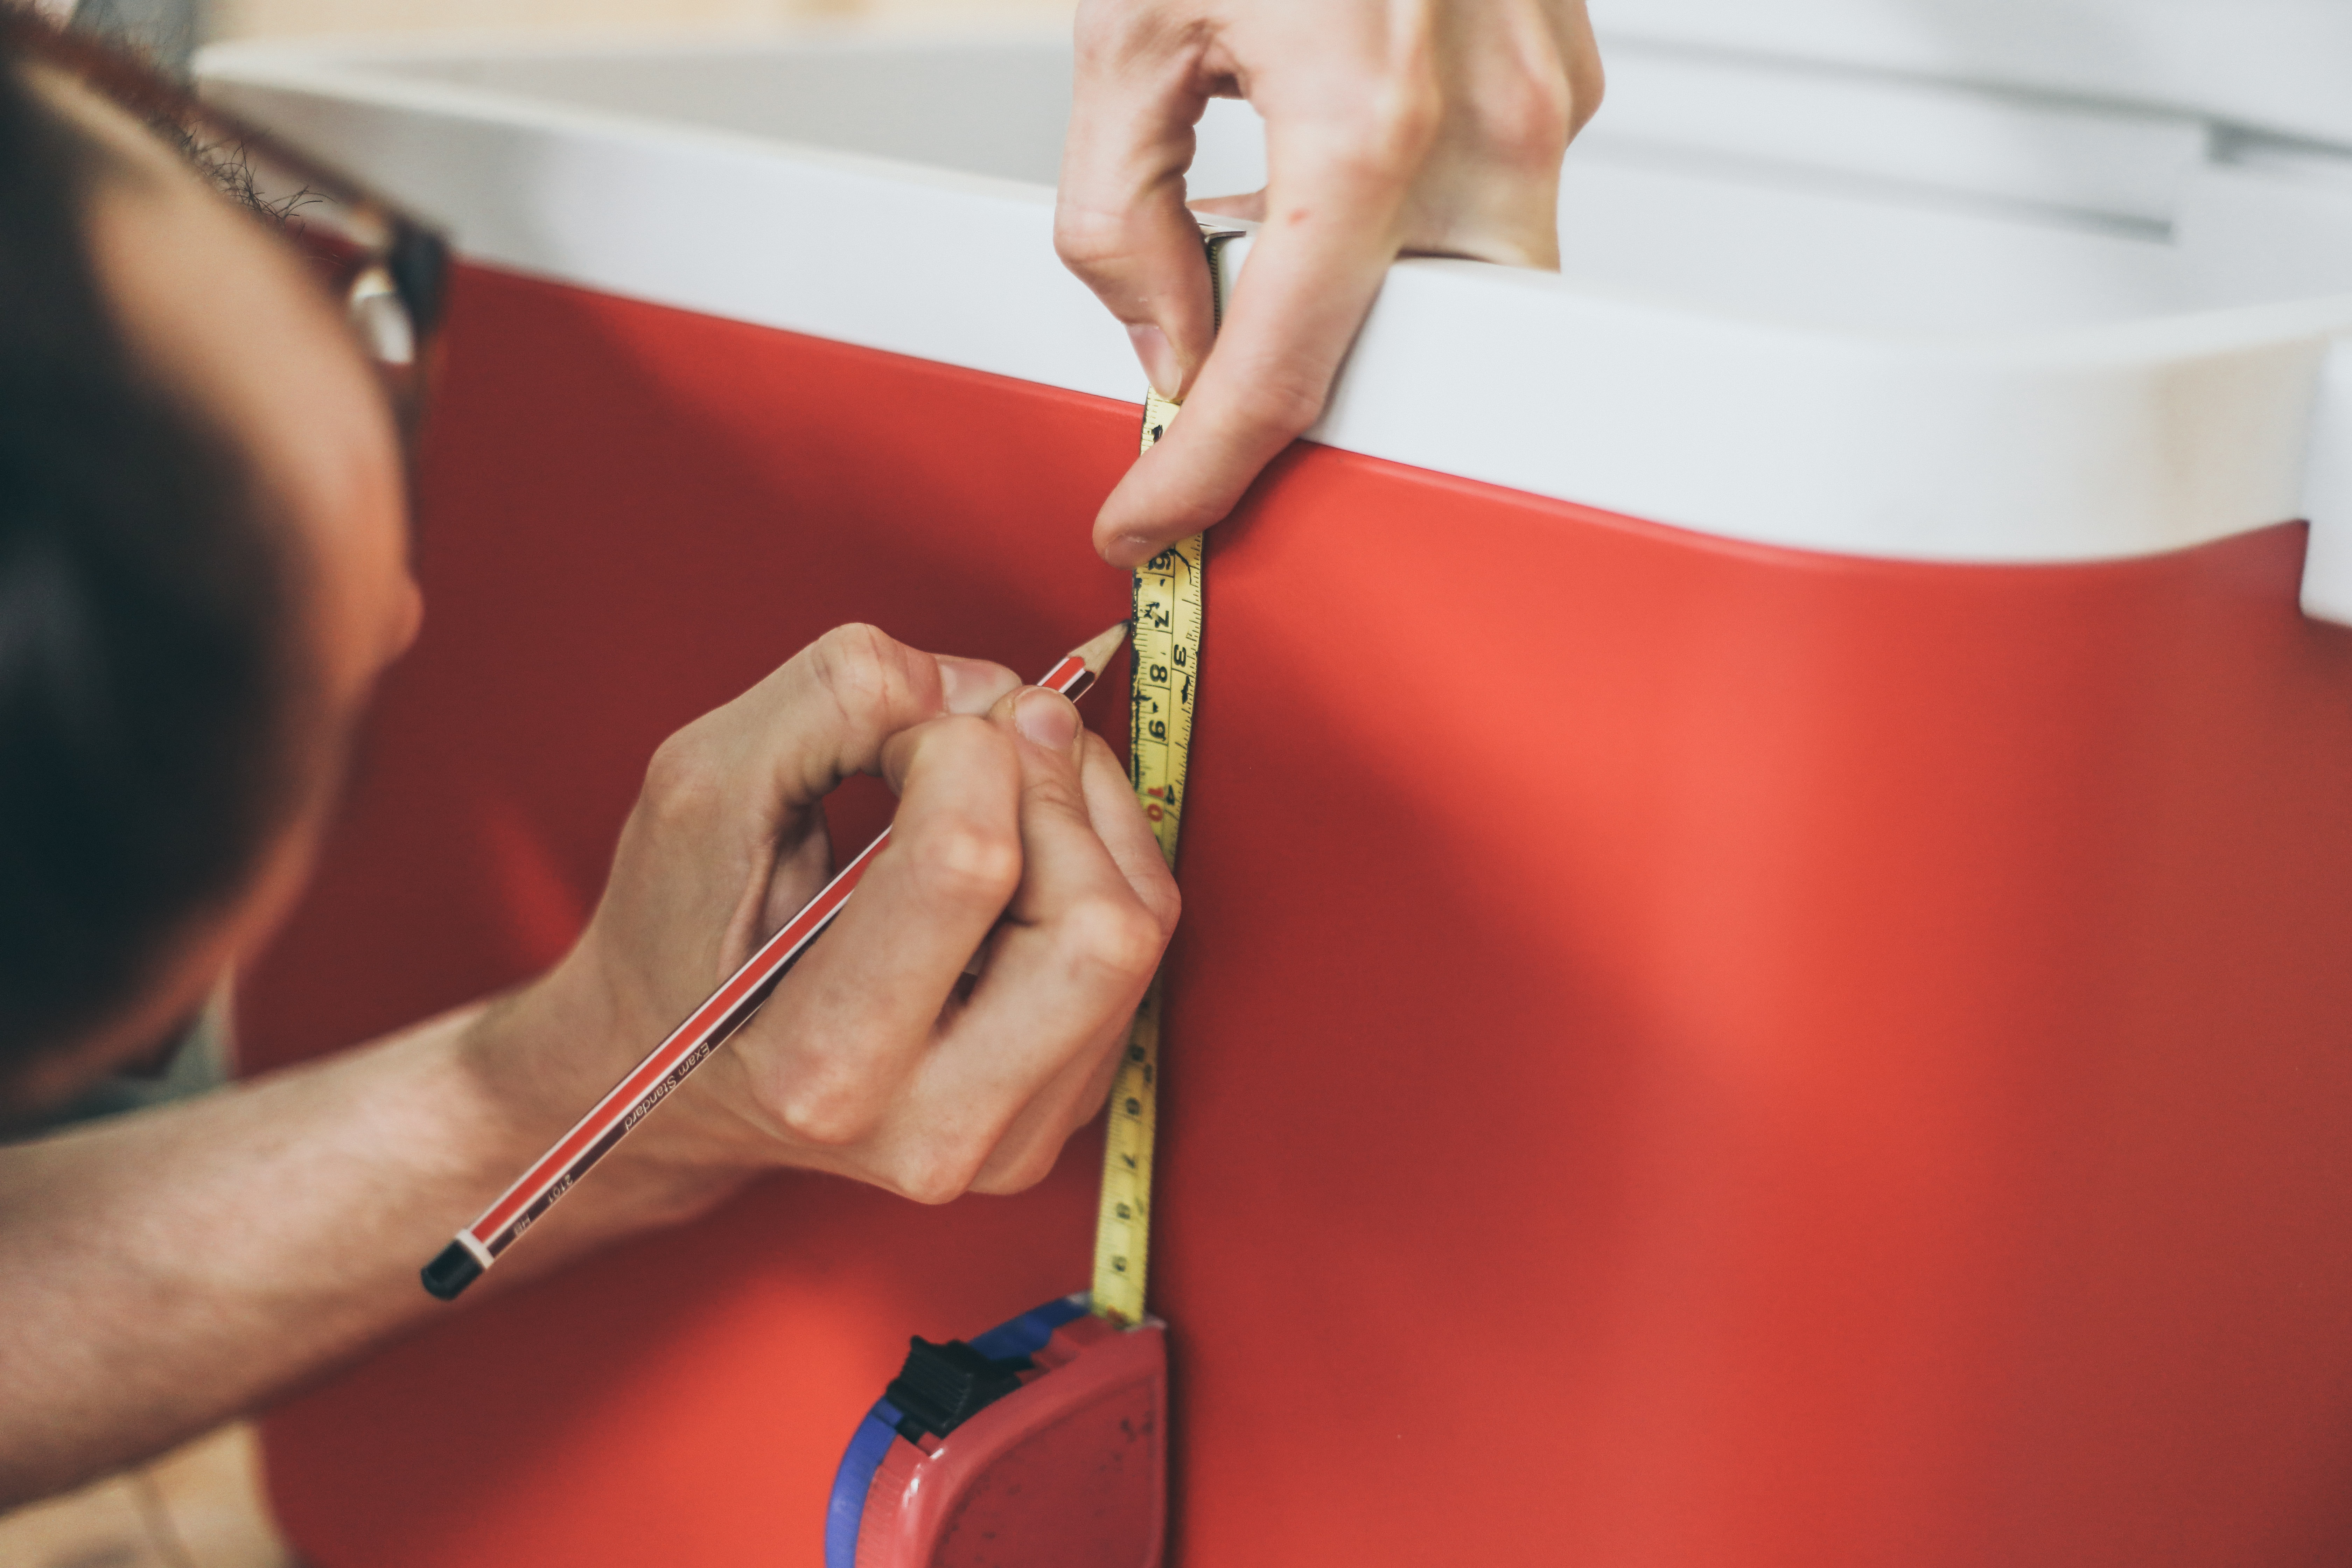
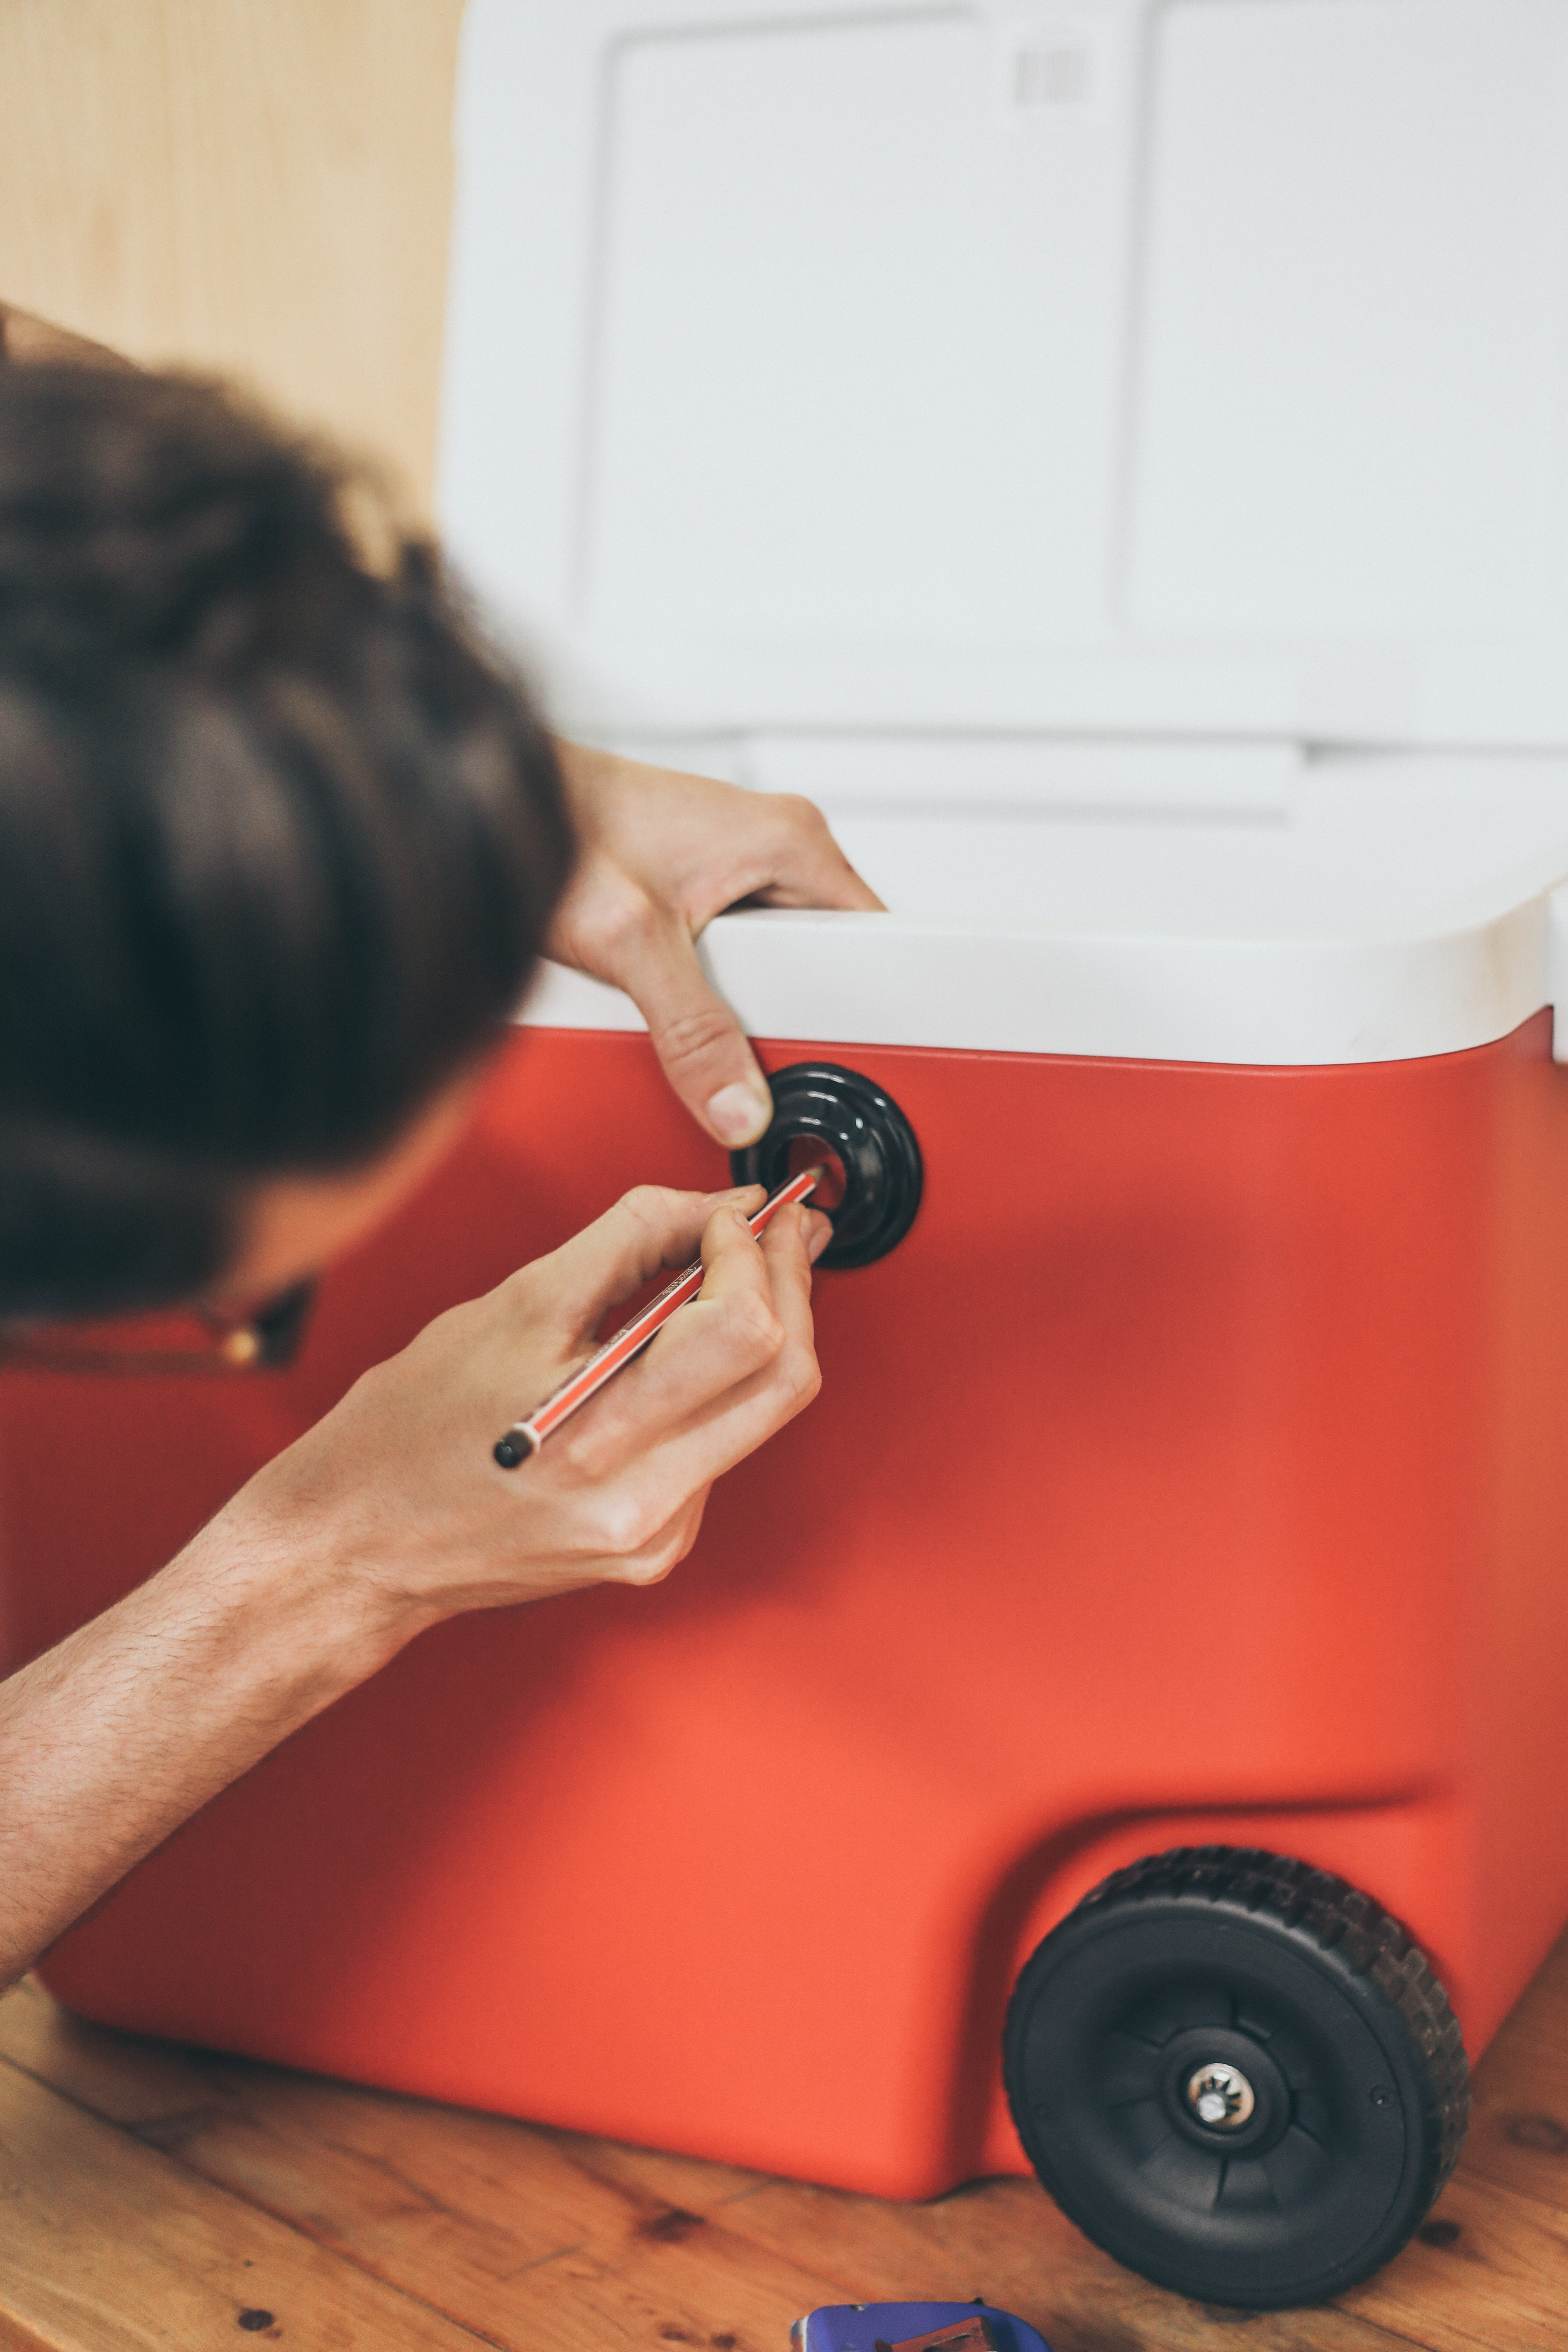
Step 1: Mark out hole placement.
Mark out with a pencil where you’d like the shanks to go. We divided the width of the esky into 3, so the two taps would be evenly spaced out. The shanks should be mounted as high as possible on the esky (water could leak out if you mount them too low), without being too close to the upper rim and lid. Use the shank collar to check the placement of the hole and use a tape measure to check that the two shanks are installed at the same height.
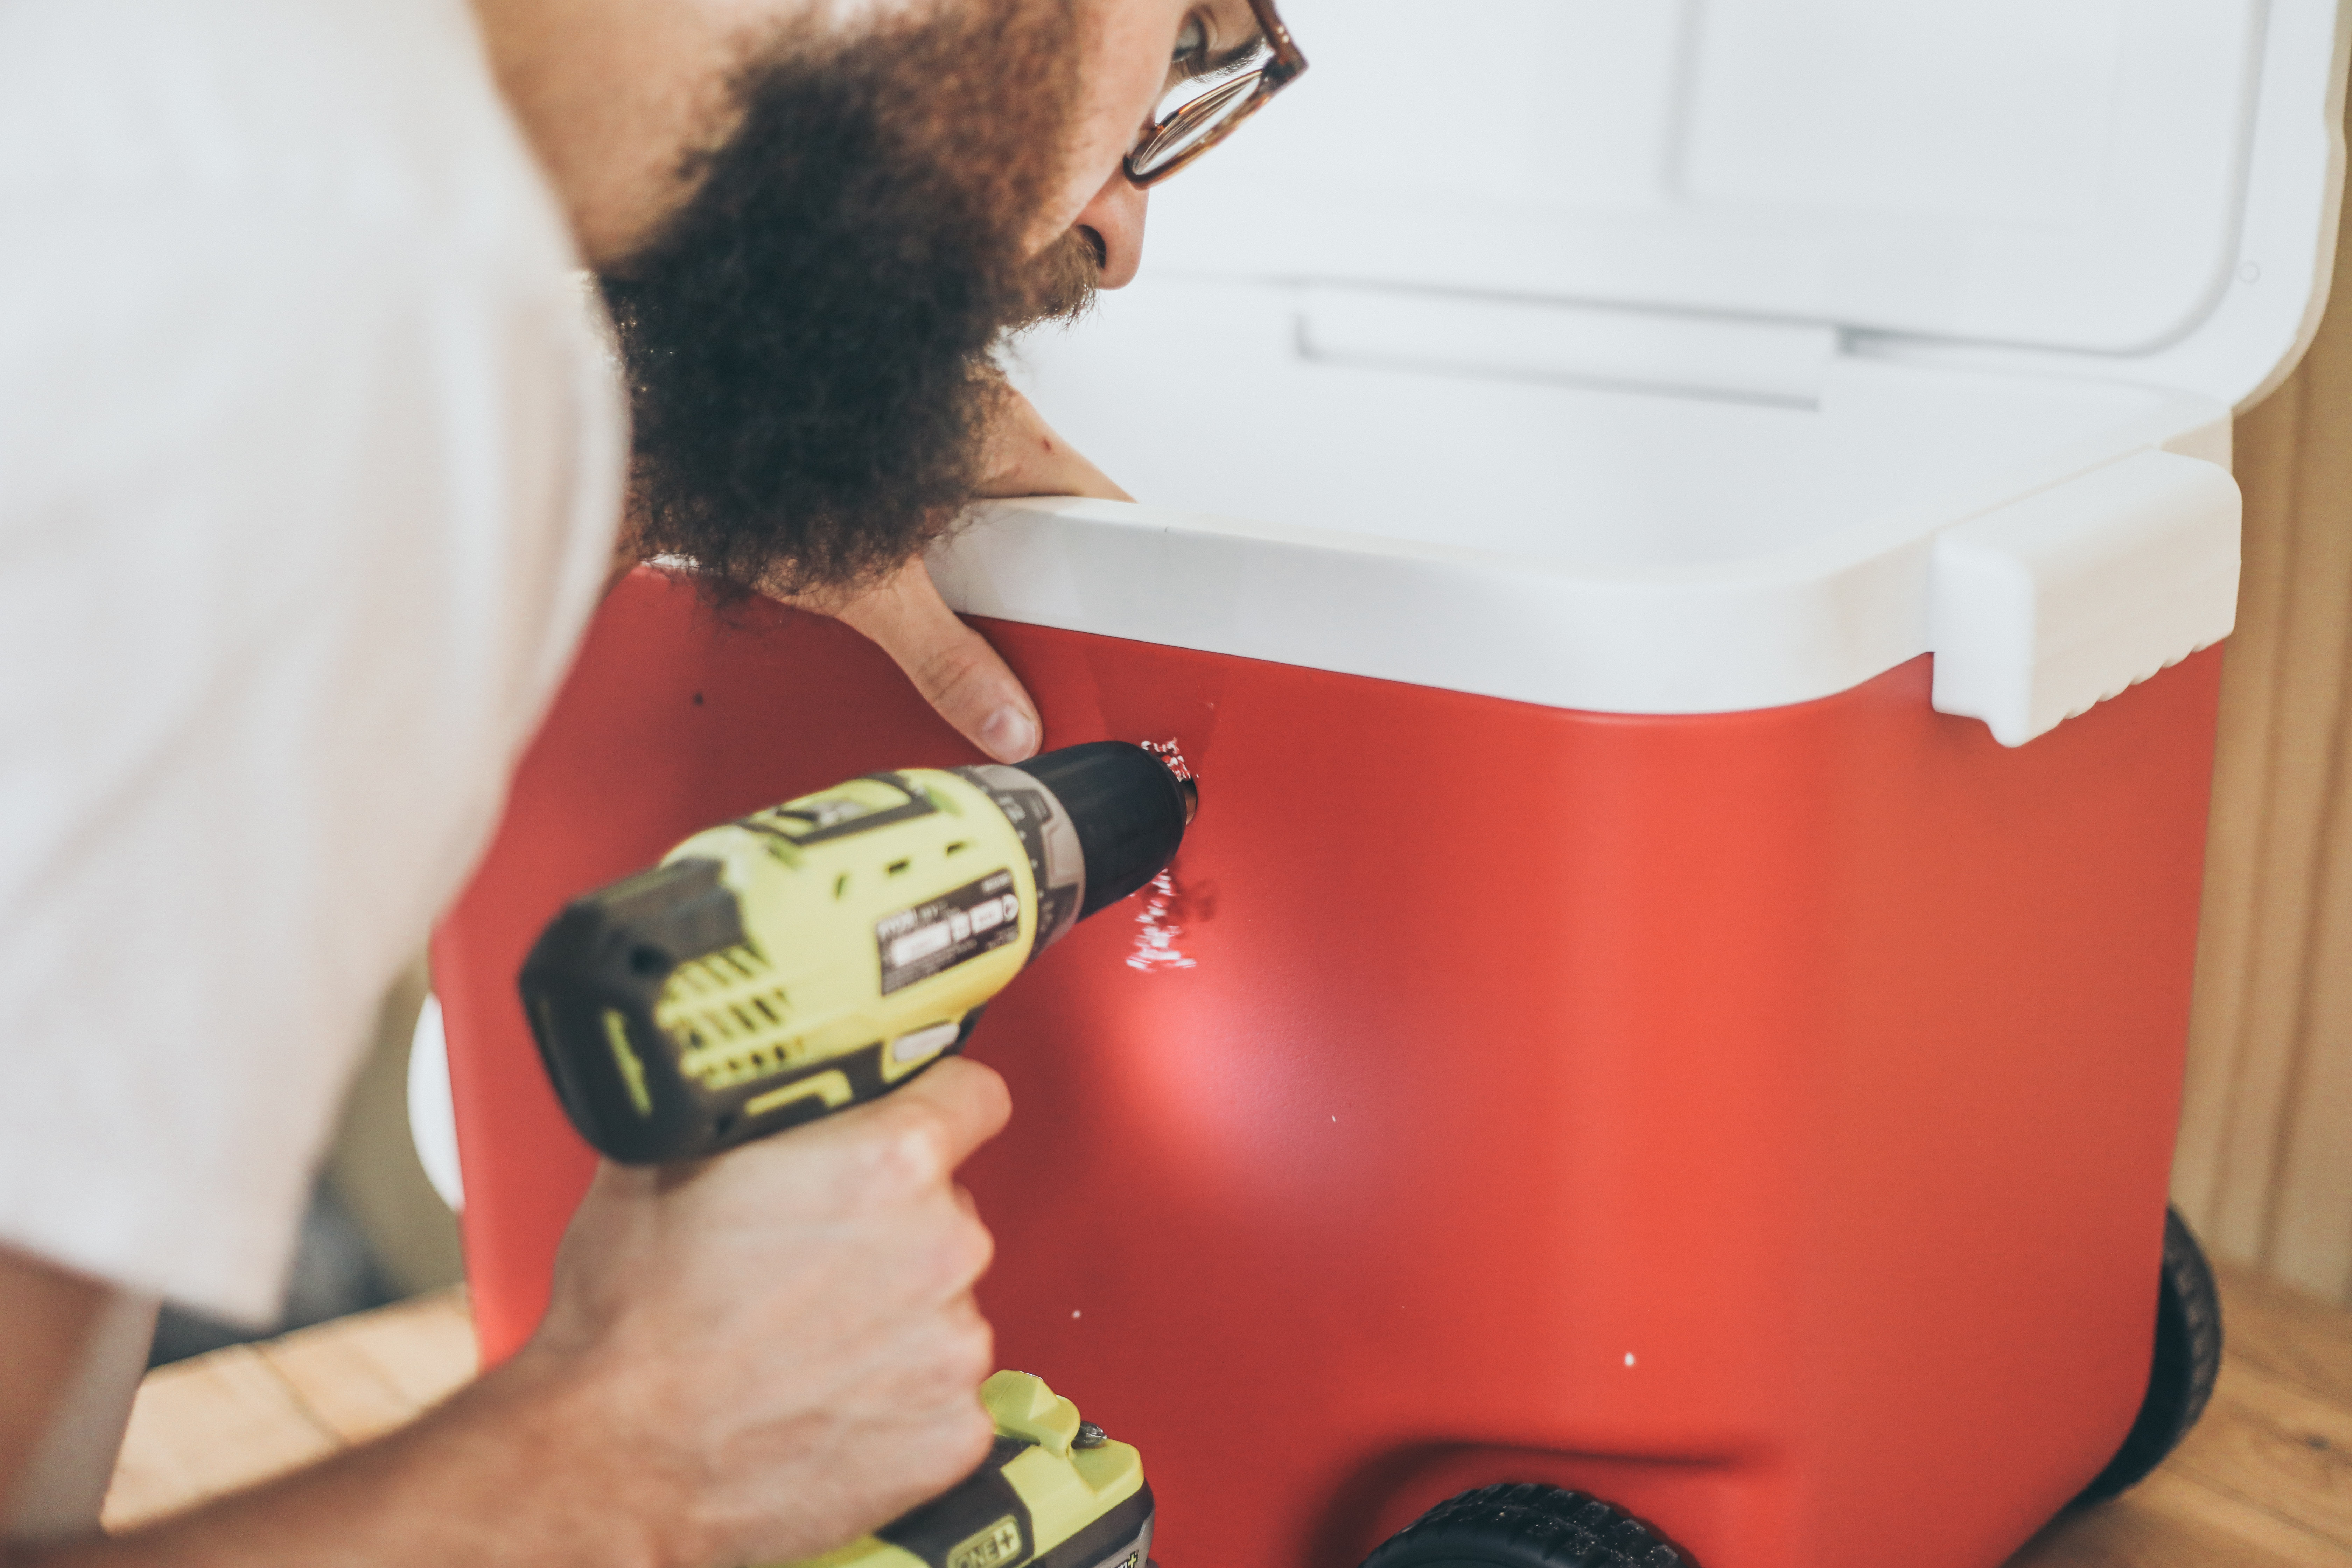
Step 2: Drill baby, drill!
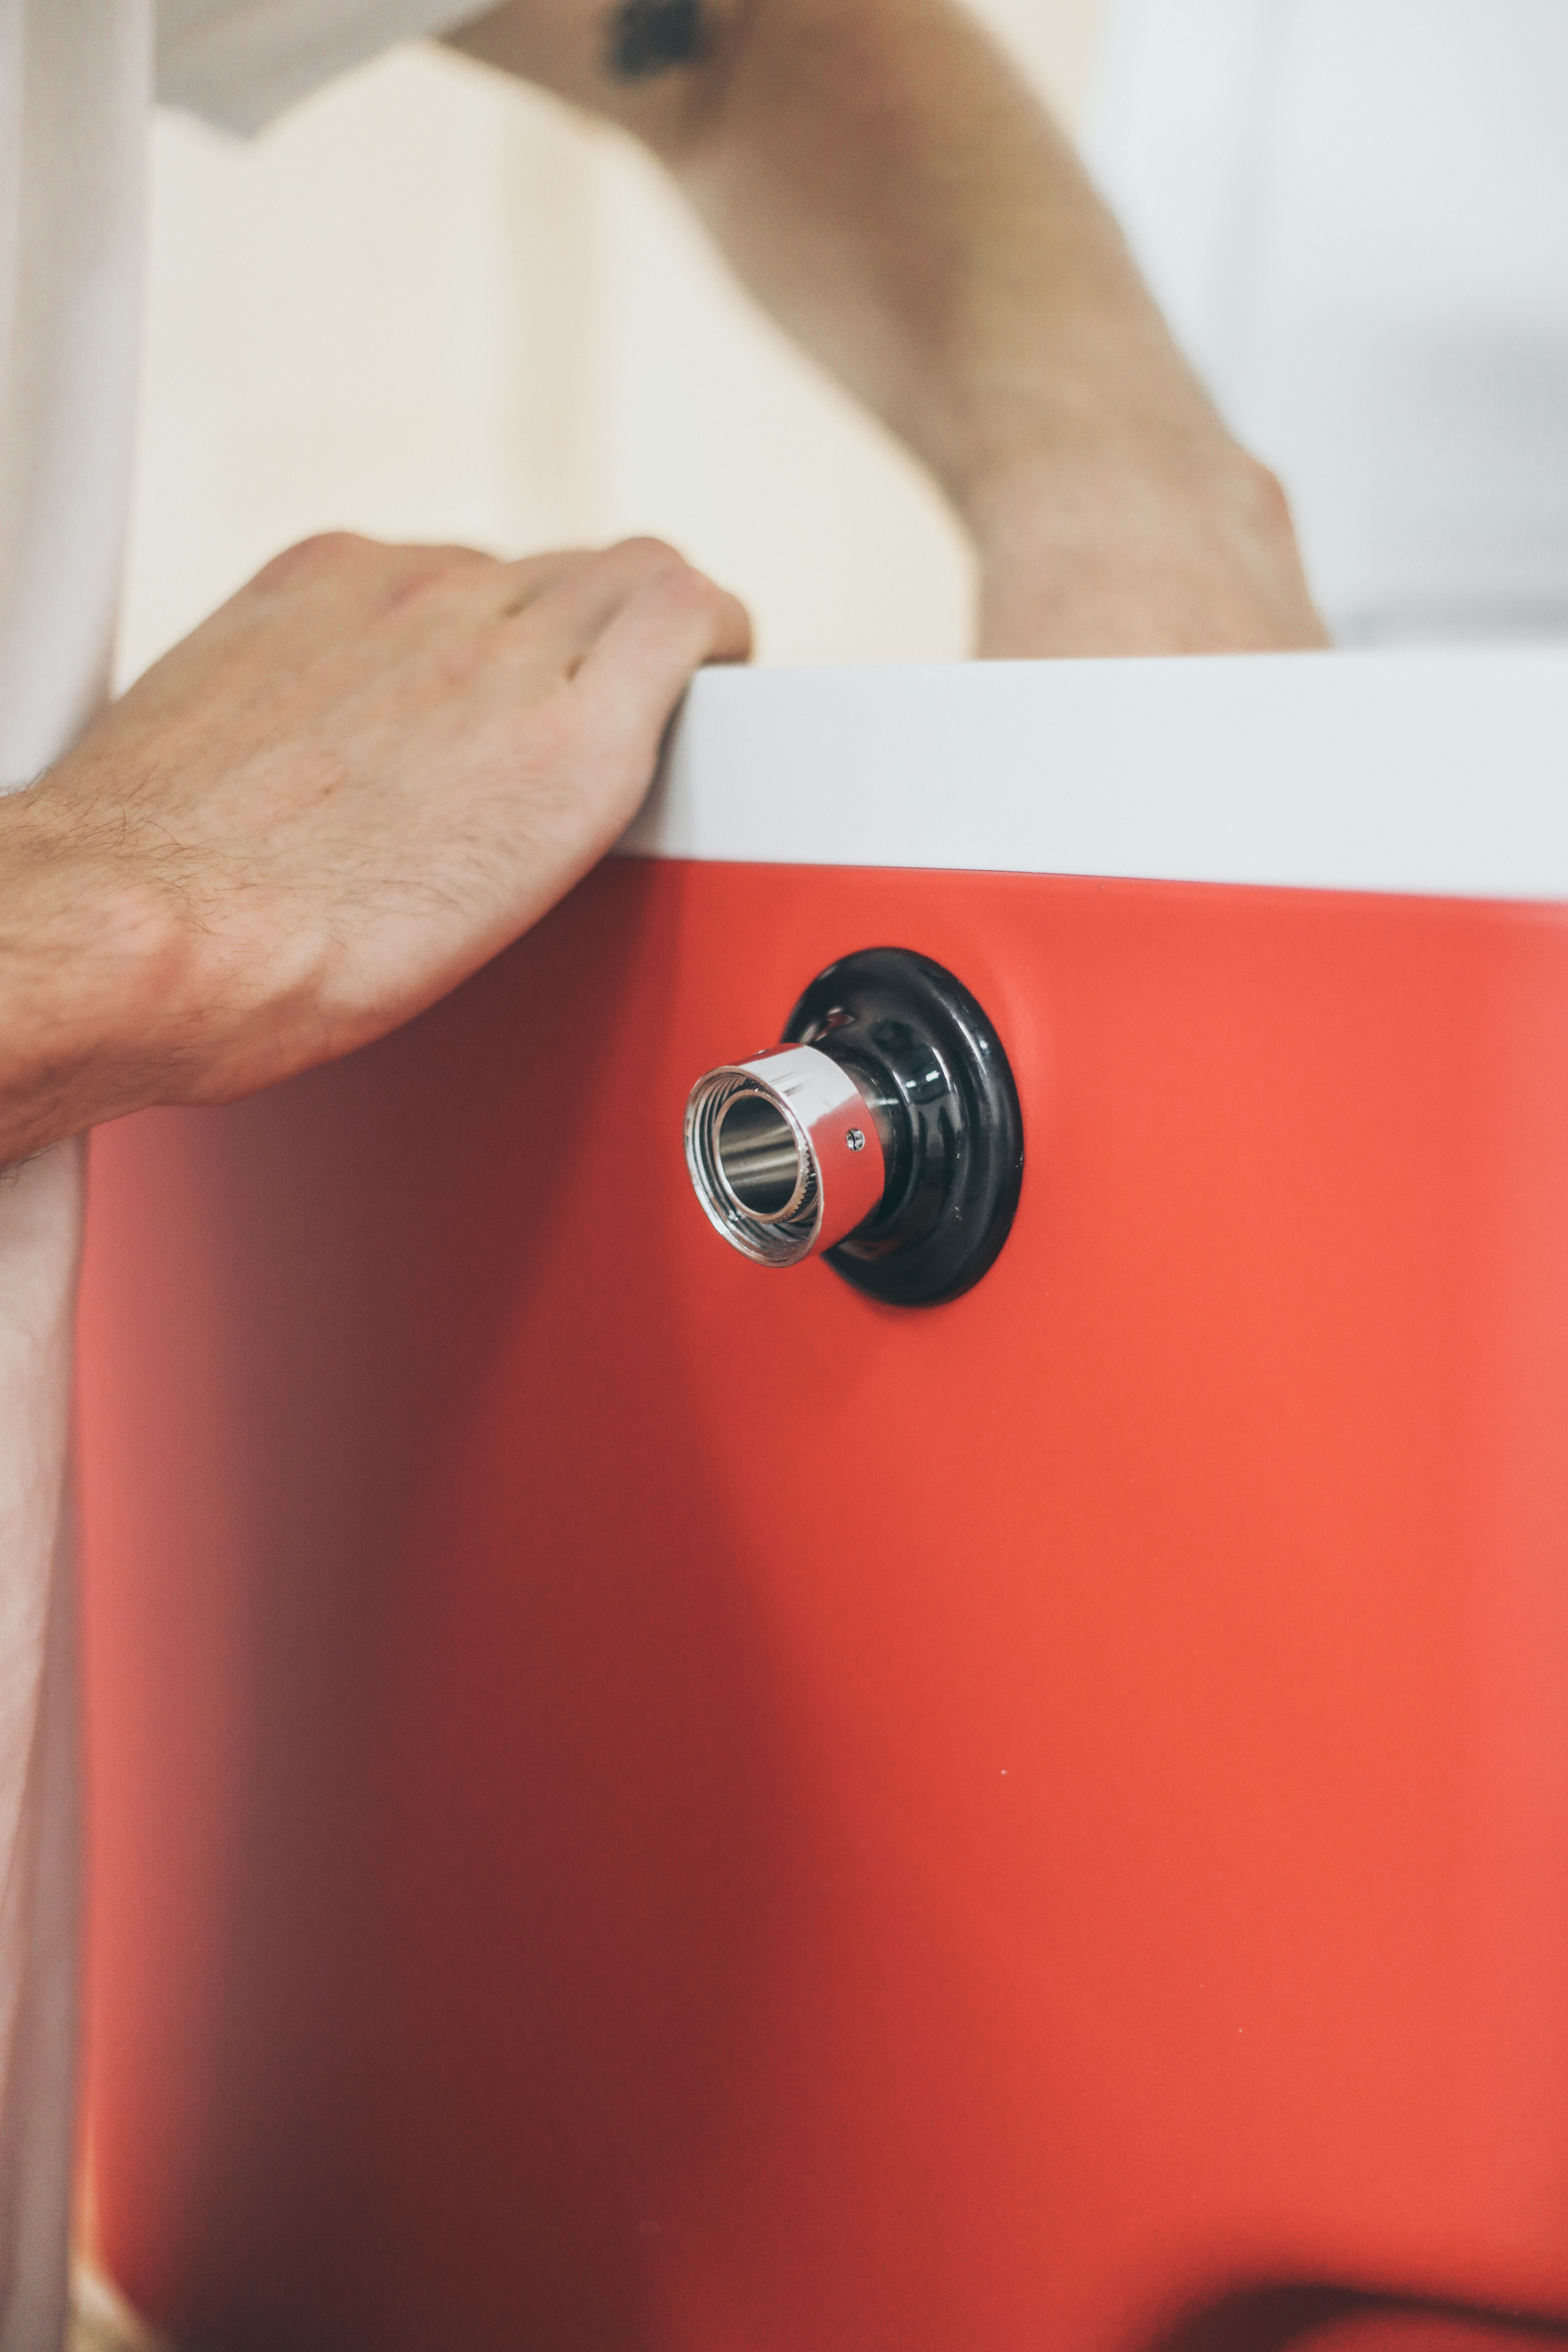
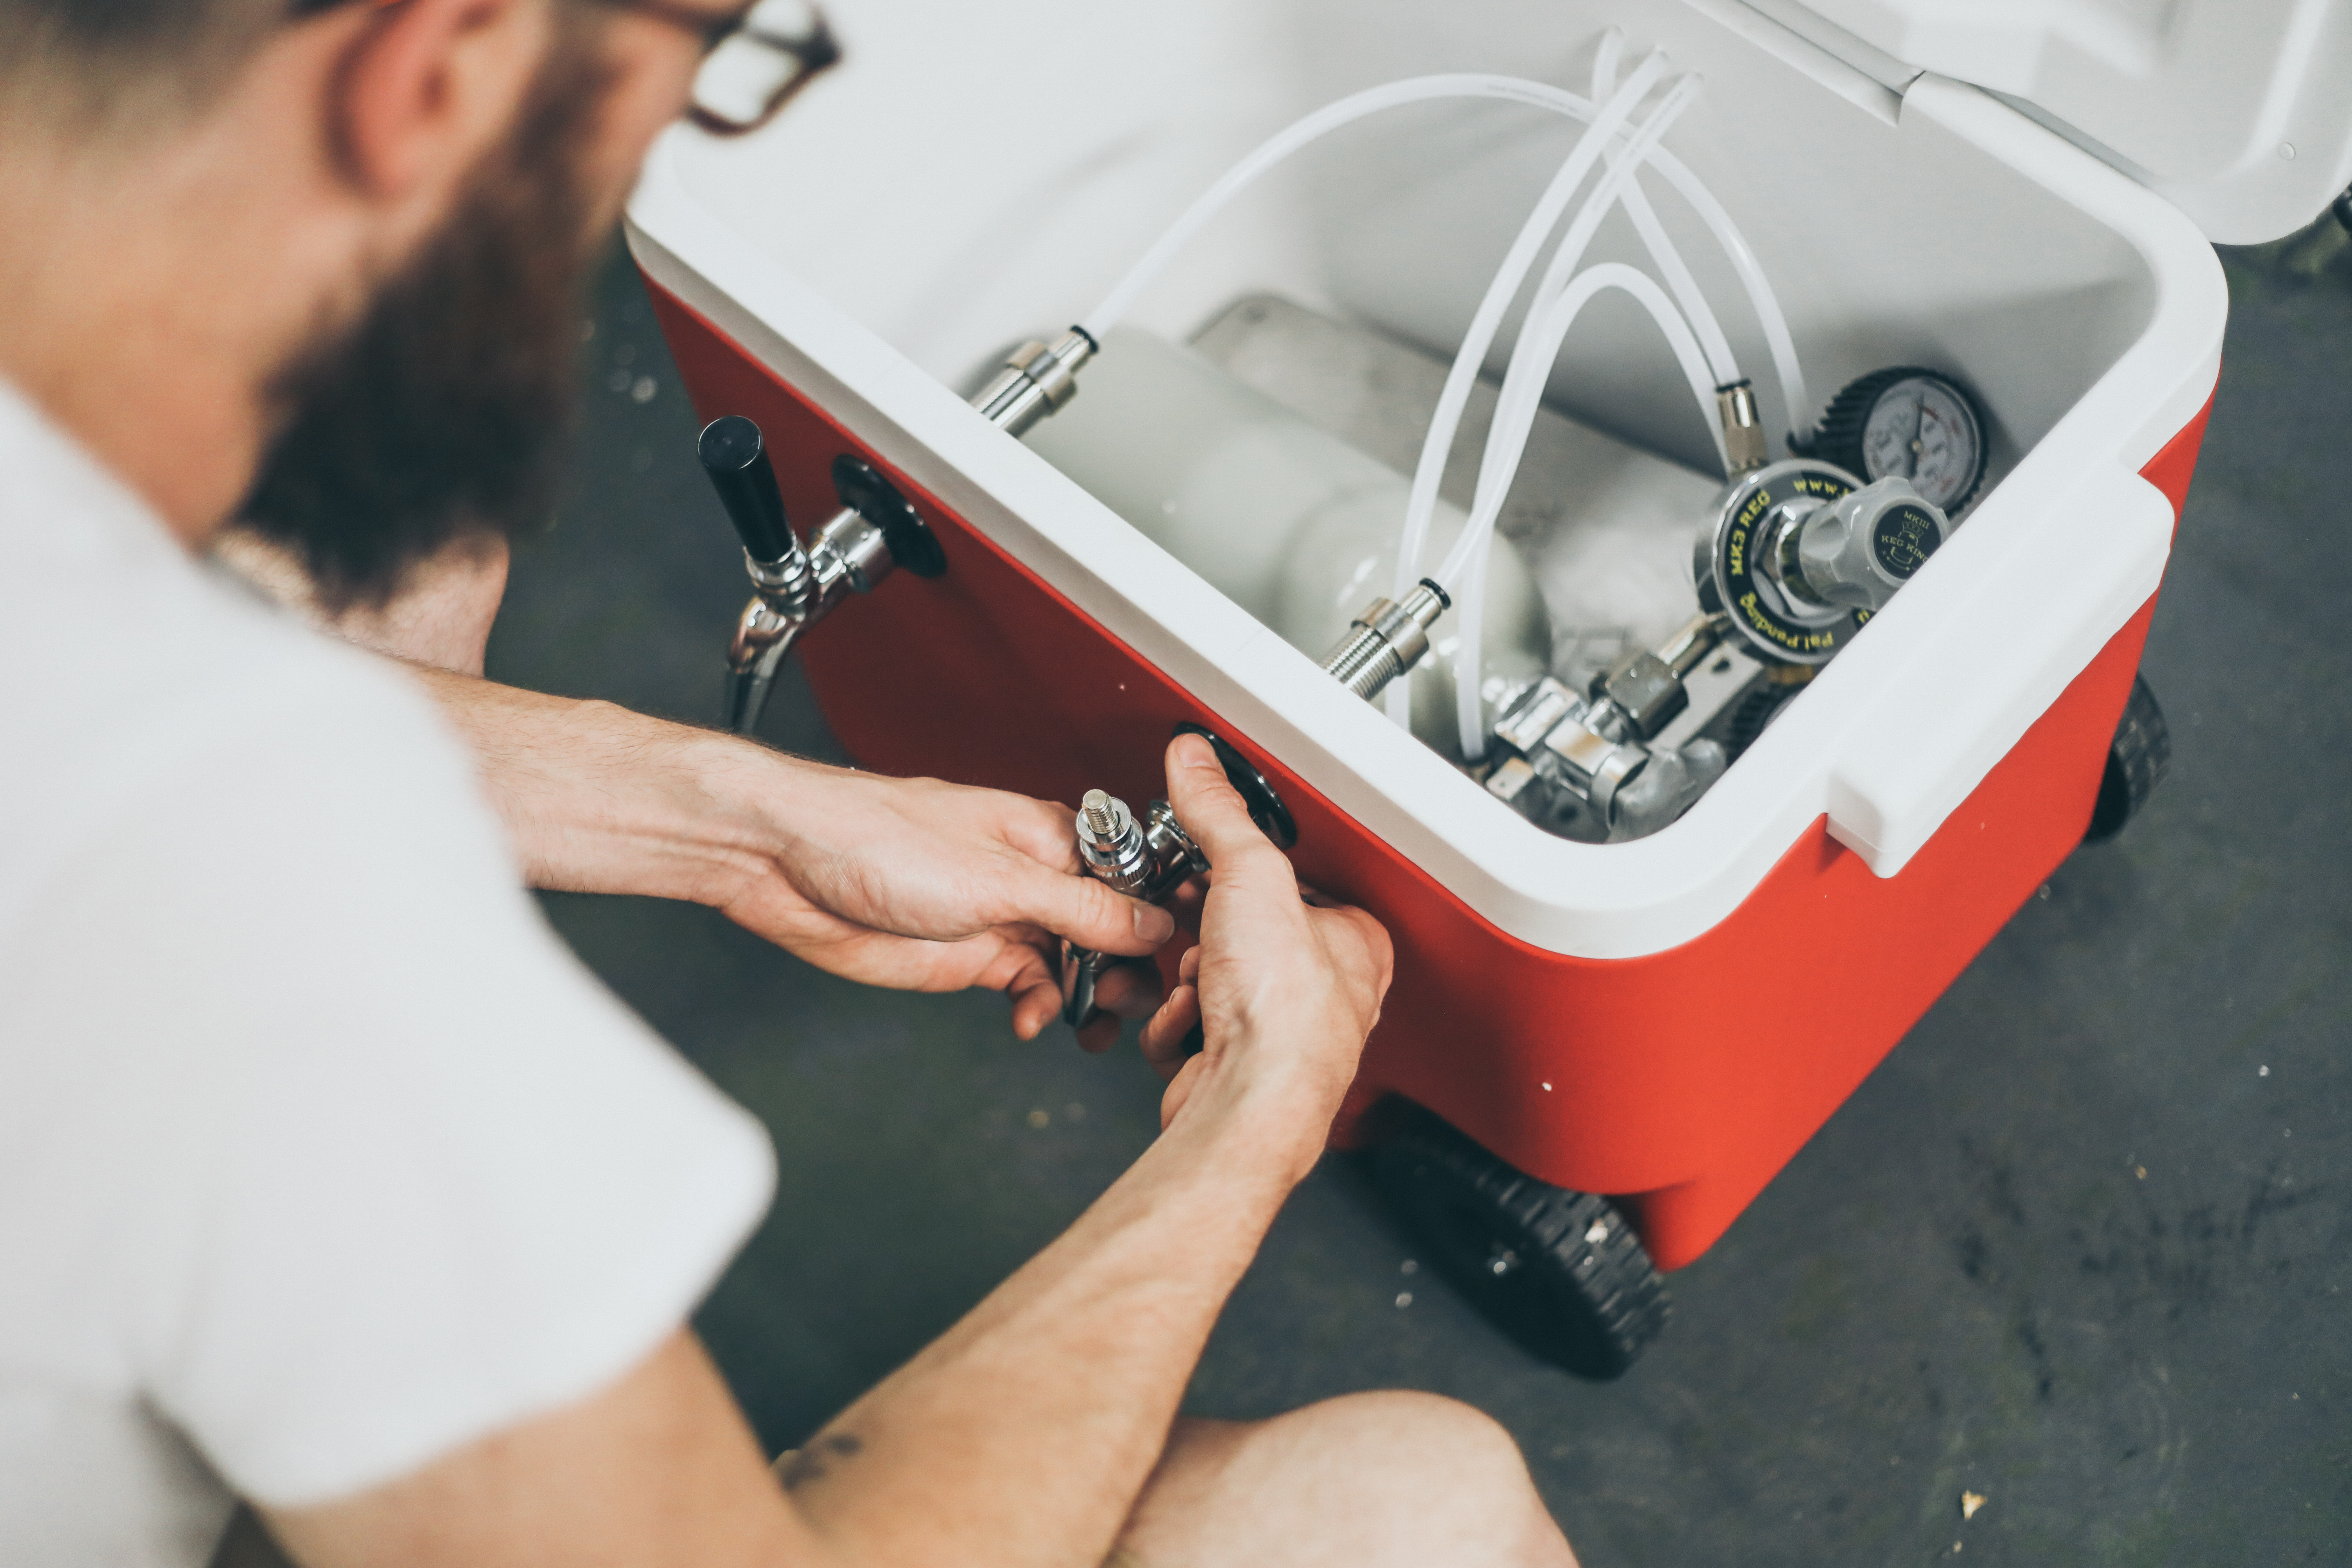
Drill out the holes for the shanks and test to see they fit through. We used a step bit which bores the hole wider as you go deeper, if you do that you might need to also drill a little from the inside to make sure the holes are equal in size – don’t worry it isn’t difficult! Otherwise use a 22mm holesaw and go right the way through. Once that’s done, test fit your long shanks into the holes you’ve drilled, along with the cold plate. If everything fits nicely, install your shanks properly, put the nut onto the back and tighten up with a shifting spanner – not too tightly as you don’t want to break through the plastic.

Step 3: Add beer/gas line holes
Drill out the holes for the beer/gas line to pass through. If your esky is big enough you might be able to fit the CO2 cylinder and regulator inside – that keeps things neat and tidy and portable. You’ll need 2 lines for beer to come in, and 1 line for gas to run out (before being split). If your gas will be outside the jockey box, just drill 2 holes. These can be on the reverse side of the jockey box if your taps will be “customer facing” (your mates can self serve), or you can put them on the side if you plan on using your jockey box more like a bar (taps facing inwards, with a decal or sign on the rear of the box).
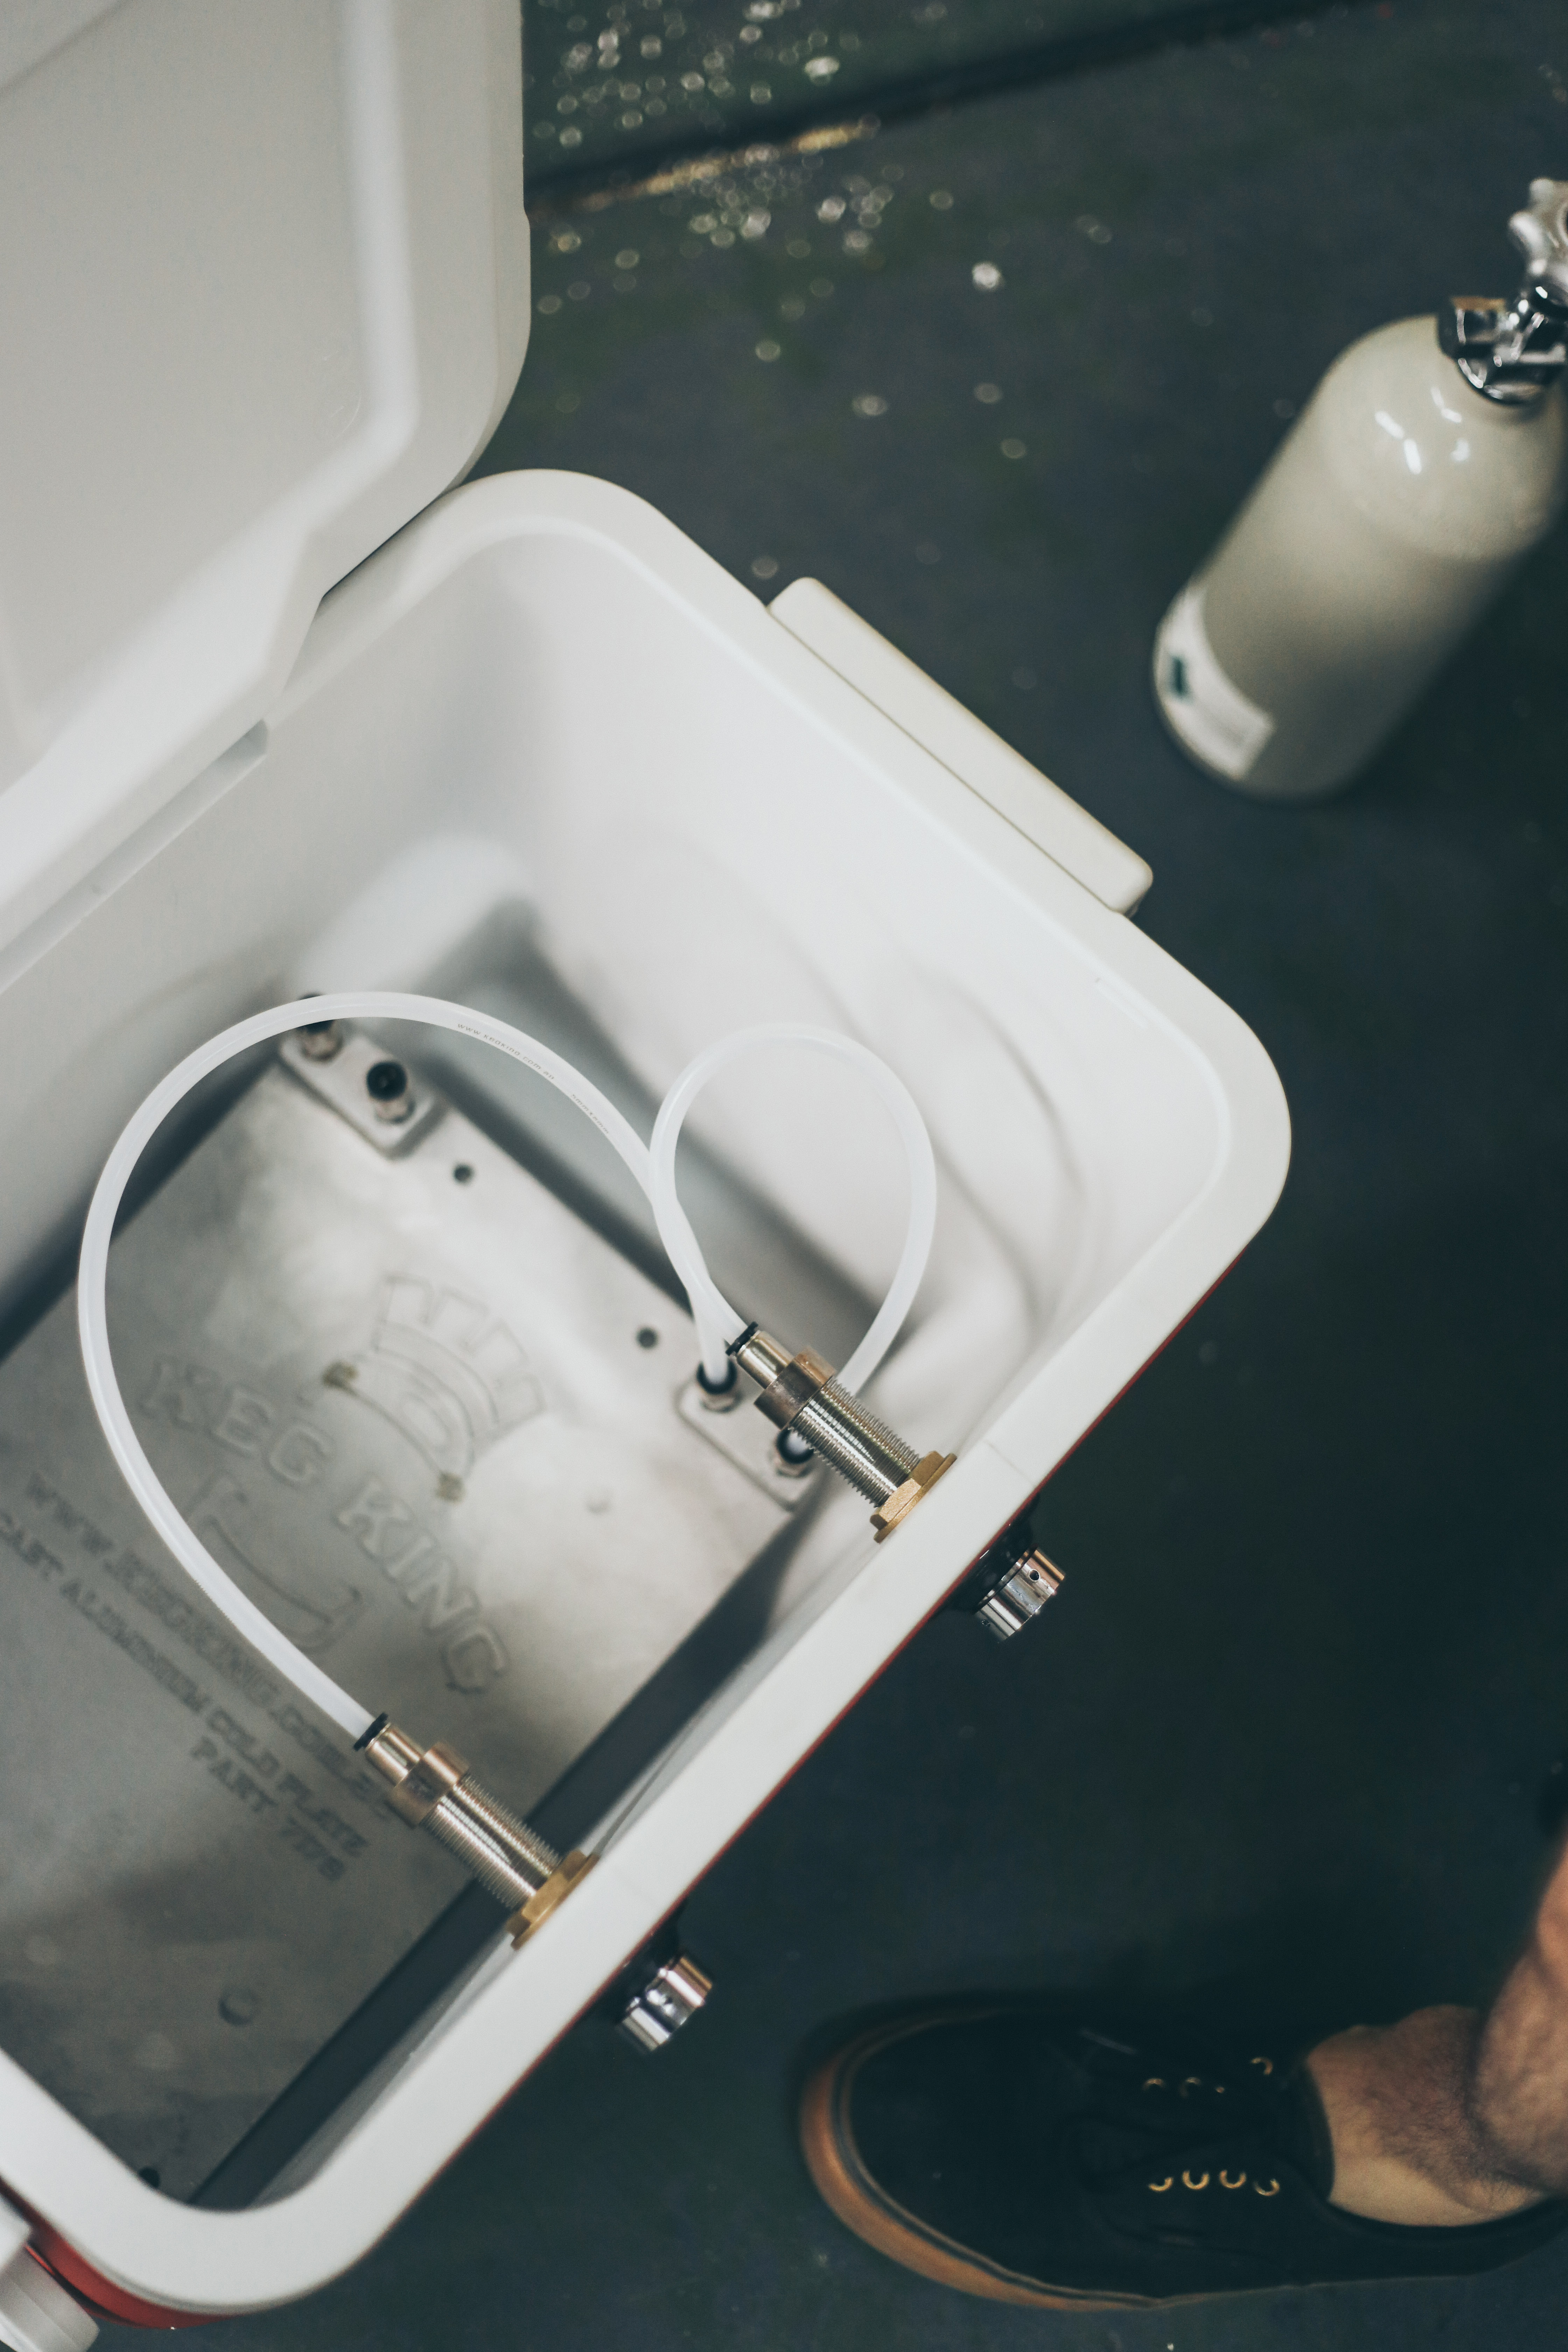
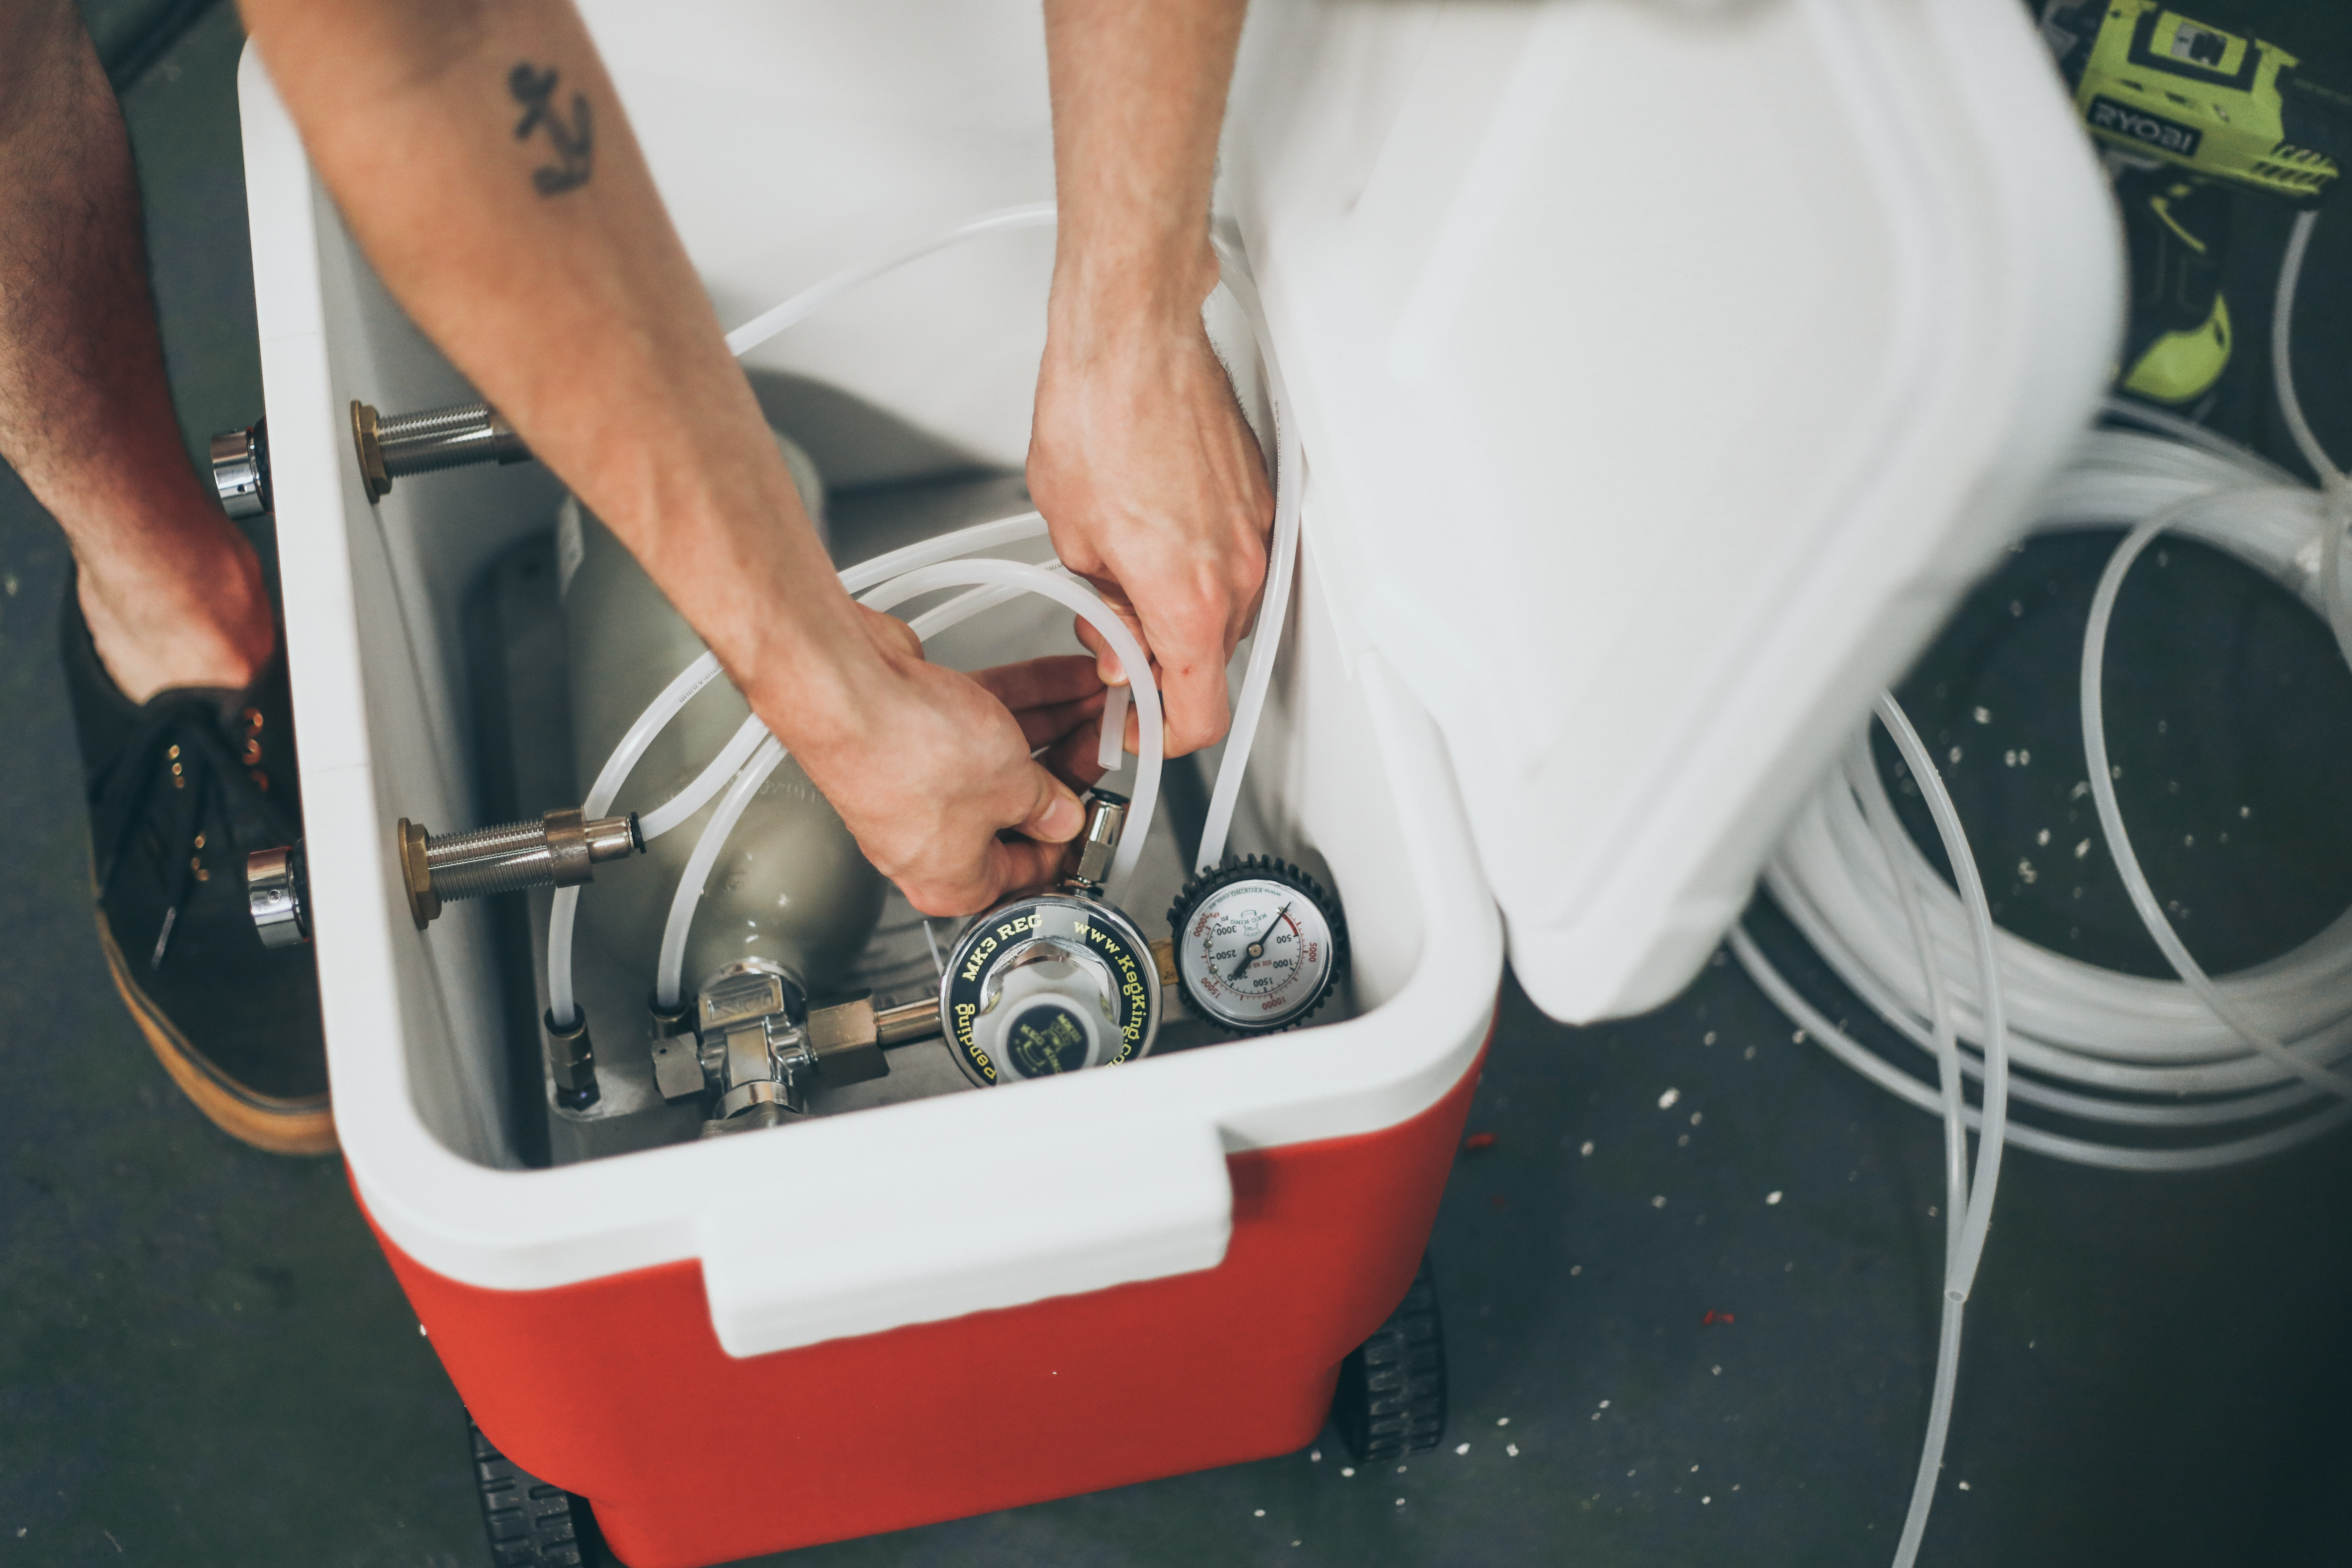
Step 4: Hook up everything!
Attach your MFL Push in fittings to the cold plate, one on the regulator, and on all your disconnects. Use a shifting spanner and apply only moderate pressure when tightening – no teflon tape required! Attach your 5/8″ push in fittings to the shanks. Run your beer/gas line to everything as needed. Gas line goes from your regulator, to a splitter, to the two gas disconnects. Beer line goes from each liquid disconnect, to an input on the cold plate, then from the output of the cold plate, to the shank. Use that common sense of yours to check correct connection – you can blow through the line to make sure the cold plate connections are going where you expect and you haven’t done something daft and hooked up one keg to another. Connect the taps to the shanks.
Step 5: Test the system
Pressure test with water/sanitiser. Fill a keg with water or sanitiser mix, pressurise and hook up to your jockey box – pour a little out through the tap – check inside the jockey box and make sure there’s no leaks or drips from any connections.

That’s it! You’re done with the jockey box build. All you need to do is hook up a keg of carbonated beer, fill the esky with a bag or two of ice and go for your life. This will allow you to take kegs of beer on the road and serve it without refrigerating the keg. You’ll get the best results however if you chill down your keg in advance of serving as it will mean the beer comes out that little bit colder and the ice will last longer.